
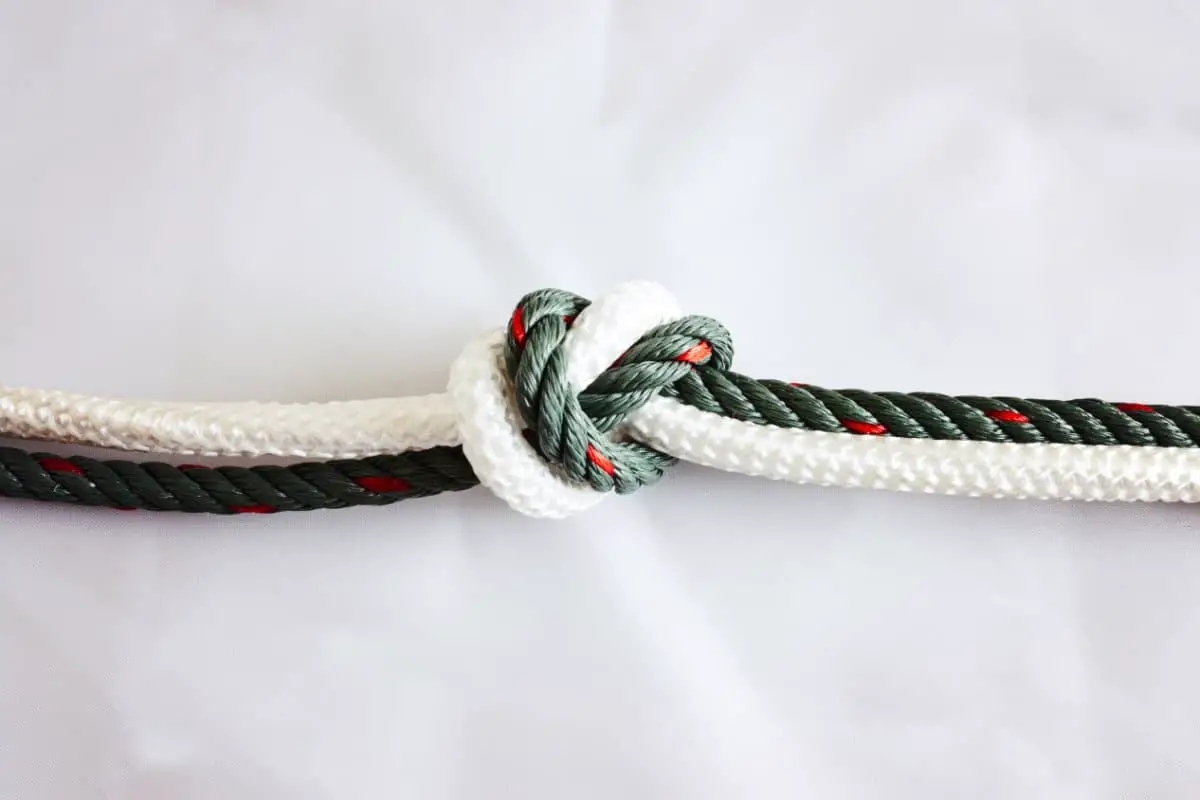
Fishing is a relaxing pastime that helps you unwind and connect with nature. However, your fishing experience is only as good as the knots that you use. That’s why if you are surf fishing, you need to know the strongest knots.
There are so many different knots that you can use, that you need to know which ones work best with your specific needs. I am not an expert when it comes to fishing knots. I also learned from other anglers, and I would like to share it with you.
Here are the best 10 knots you should know when surf fishing:
- Palomar Knot
- Albright Knot
- Double Uni Knot
- Surgeon’s Knot
- Uni Knot
- Offshore Swivel Knot
- Spider Hitch Knot
- Blood Knot
- Rapala Knot
- San Diego Jam Knot
By reading on, you can learn about the top surf fishing knots and step-by-step instructions on how to create them. The goal here is to show you all about these durable knots and how to make them. If you want a better experience when fishing, learn about these crucial knots.
Importance of Knots when Fishing
Knots are essential to your fishing experience. As you learn more knots and practice them, you may end up tying over a dozen knots in a couple of hours.
The knot is what ensures the proper integrity of the tackle and the line. Without a solid knot, you will end up watching that big catch getaway. Knots failing are easily the biggest reason why you lose your catch.
There are two reasons for knot failure: poor construction and the knot slips under the load. The knot can just come undone, or it slides and twists around until it finally comes loose.
If you notice what looks like a “pig’s tail” after the knot comes undone, this means your knot failed. In the knot slipping case, the knot slowly gets to the point of friction that eventually leads to the knot breaking.
Fortunately, there are some habits that you can get into that will prevent these issues. For one thing, you can learn a few knots at a time, practicing them until they become second nature to you.
You should know 3 knots perfectly so that you can quickly create them on the fishing trip.
It can also be smart to wet the turns or wraps of your knots as you tie them.
The easiest way to do this is by using your saliva. Make sure that you tighten the knot with steady but firm pressure before you test it. Don’t trim any part of the knot until you do.
Keep checking your knots for any defects, fixing them as needed to keep you fishing. These are some simple tips that can improve your experience.
10 Knots You Need to Know When Surf Fishing
This section will take a closer look at these top 10 knots for surf fishing to pick which one best meets your needs. It will also provide instructions on how to make these knots.
1. Palomar Knot
The Palomar knot is not just one of the most popular knots. It’s also an incredibly strong knot so that you can use it for many purposes. This knot is also one of the easiest to learn and use, which is one reason why it’s so popular.
Its durability makes it a good choice for lighter surf, though you may want to have a different option in harsher conditions.
Here’s how to do the basic Palomar knot:
1. Double roughly 6″ of the line, then pass it through your hook.
2. Take the doubled line and tie an overhand knot.
3. Pull the end of the loop down, ensuring that you pass it totally over the hook.
4. Moisten or lubricate the ends of the line, then pull them to draw up your knot.
5. Trim any excess, leaving a little bit left.
Credit: SaltStrong
2. Albright Knot
The Albright knot is one of the most versatile knots to work with, particularly if you want a secure mono to braid knot. As braided lines become a more popular choice, knowing how to do an adequate mono to braid knot.
You want something that is going to hold, especially when you’re going after big fish in the surf. This knot is very popular because it doesn’t add bulk to the line, and it helps connect two lines.
You can use this for the sea or for catching carp and even smaller fish. However, this isn’t the easiest line to use.
Here’s how to make this knot:
1. Start with the thicker line, doubling back on itself so that you can make a loop.
2. Take the mono, running it through this loop. You need about 10 inches of the line through this loop.
3. While firmly holding this loop together, take the mono that you’ve threaded through the loop and pass it underneath the loop that is close to your fingers.
4. Take the mono and wrap it back over both of the loop strands and then over itself where you first threaded it through. This is a complete wrap. You need to do this nine more times so that you have a total of 10 wraps. These wraps should be neatly next to each other and nearly reach the top of the loop.
5. Start to make another wrap, only instead of bringing it back on itself, tuck it nearly into the loop in the exact spot where the other mono entered it.
6. Now you should have 2 strands of the mono coming out of the top of the loop.
7. Take the 2 sides of the thicker line and then slide the wraps to the top of the loop.
8. Pull-on these two mono strands to tighten the knot.
9. Clip the loose ends at the top and bottom.
Credit: SaltStrong
It can be a complicated knot, but you’ll realize how easy it is after some practice.
3. Double Uni Knot
The Double Uni knot is commonly used in saltwater and freshwater fishing, considering the best knot for tying a braided line to a monofilament or fluorocarbon leader.
It’s an effective knot that is easier than a lot of other knots, including the blood knot. There’s a variation of this knot called the “Double Uni knot” that you can use if you need something even stronger.
This is how you create this knot:
1. Take the ends of the lines that you want to join, then overlap them.
2. Take the end of your left line and double it back, making 3-4 wraps around both of your lines. Put this through the loop that you formed during this process. Pull the tag to tighten it.
3. Repeat this method with the other end of the line, using the same number of wraps. The exception is if you are using a braided line, then you will double these wraps.
4. Cut the ends closer to the knot.
Credit: Zvejokliai LT
4. Surgeon’s Knot
The Surgeon’s knot is a preferred choice when you are joining monofilament lines of similar pound-test and diameter. This knot is typically used for back-bay fishing and inshore fishing.
This is simple to tie the knot, which offers decent strength on its own. To make it even stronger, you can use it along with a Spider Hitch knot.
Here’s how to tie the Surgeon’s knot:
1. Start by placing the leader line and the mainline next to each other.
2. Create an overhand knot by passing the long end of your leader line and the tag end of the mainline through your loop.
3. Create another overhand knot by passing these same ends through the loop. Lubricate and tighten the knot by pulling all four ends slowly.
4. Trim the tags down.
Credit: Catfish and Carp
5. Uni Knot
Also referred to as the Hangman’s knot, the Uni knot is commonly used with the monofilament. This is a versatile and durable knot, which is why this is a popular choice for a variety of fishing needs.
Due to its strength, you can use this for both attaching a hook or a reel.
This will walk you through the steps on how to create the Uni knot:
1. Run your line through the eye and then double back around to form a circle.
2. Tie this knot by wrapping your tag end around the double line for 6 turns and through your loop.
3. Lubricate the line, then take the mainline and pull it to tighten your knot.
4. Pull its mainline in order to slide the knot down to the eye of the hook. Then swivel.
Credit: Berkley Fishing
Some people also know the Uni knot as the Grinner knot or the Duncan Loop knot. As far as strength goes, this knot is typically stronger than the blood knot, especially if you use a Double Uni knot setup.
6. Offshore Swivel Knot
Offshore Swivel Knot is one of the most reliable knots that you can use. You get the most security with this line because if one of the lines breaks, there is still a strong enough line to hold if needed.
This can be used in a variety of situations, but it’s mostly used for securing a swivel to the end of the line. In most cases, this knot is used along with the Spider Hitch or Bimini Twist.
Here’s how to do the Offshore Swivel Knot:
- Create a section where there is a double line.
2. Thread the loop of this double line through the swivel’s eye, then make a twist in the loop.
3. Fold the end of the loopback onto the double line, above where the swivel is.
4. Hold the loop up against the double line, rotating the swivel through this opening between 3-6 times.
If you have issues completing this last step of the knot making, you can use pliers at the point to keep the knot in place as you do it.
Credit: Fish Angler
When done properly, this type of knot rarely breaks, and if it does, you have that second line that offers security.
7. Spider Hitch Knot
The Spider Hitch knot is a great choice for knots because it’s not only very durable but also incredibly easy and faster to do than other knots. The goal of this knot is to create a double line that is quick to make and strong.
This is widely considered to be the strongest of the “easy knots,” which is why it could be exactly what you need when surf fishing.
Here are the steps for creating the Spider Hitch knot:
1. Double up the line for a length of it, then create a loop of the double line.
2. Hold onto the loop between your forefinger and thumb.
3. Take the double line and wrap it around the thumb and the loop for 5 times, unless you’re using a braided line where you will wrap it 15 times.
4. Pass the end of this double line through the loop.
5. Slowly pull on the double line, but you need to be careful to allow your loops to wind off of your thumb neatly.
6. Lubricate the knot with your saliva and then pull evenly on the 4 ends to tighten the knot.
Credit: SaltStrong
You can use the Bimini twist to create the initial loop, which does create a stronger knot. This will take more time, but it is worth it if you want your knot to hold up to more difficult conditions.
8. Blood Knot
Also known as the barrel knot, the Blood knot is used specifically for joining 2 sections of fluorocarbon or monofilament lines.
This is typically used by fisherman that have broken fishing lines, or just lines with weird lengths, making it an essential knot for any fisherman to learn.
While this is ideally used for lines that have a similar diameter, but this is a great knot to use for a variety of reasons.
This is how you create the blood knot:
1. Cross approximately 10″ of the tag on each line that you are connected, forming an X.
2. Pinch together the lines with your right hand, using the left hand to make 5 turns around the line on your left.
3. Take the left tag end, passing it behind the line on the right where the X is.
4. Pinch the tag end on the left side, wrapping it with your left hand while making 5 wraps of the line on your right.
5. Take the right tag end, passing it through the small opening that has just been formed at the X. The tag ends should point in opposite directions.
6. Moisten the knot and pull it tight with even pressure.
7. Cut the tags closer to the barrel wraps.
Credit: tightlinevideo
9. Rapala Knot
The Rapala knot is commonly used for hooks and artificial lures. This is a very strong loop knot and widely considered the strongest knot to use for this purpose, especially when facing the bigger fish.
Using this can give you more action with your lure, which is why this is an appealing choice for fishing.
This is how you create the Rapala knot:
1. Start off by tying a loose overhand knot, feed the tag end through the eye, and then go back around the overhand knot.
2. Create 3 turns around your standing line and bring the tag end back around through the overhand knot.
3. Pass the tag end through the loop that was just formed.
4. Lubricate the line with your saliva.
5. Pull on your standing line while holding the tag end close to the knot.
6. Pull-on the standing line and tag end to tighten your knot.
Credit: SaltStrong
10. San Diego Jam Knot
Designed by west coast fisherman, the San Diego Jam knot came out of a need for something stronger to keep up with the big tuna that they try to catch.
That being said, the San Diego Jam is not an extremely durable knot that is typically used to connect the fishing lines to those heavy iron jigs tuna fishers use.
Still, it’s a versatile knot that you can use for a variety of different purposes.
Here is how you make this knot:
- Pass the end of your line into the eye of your lure or hook. Either pinch the hook between your little finger and palm or let the heavy lure hang down, depending on what you need.
- Loop the tag end over your index finger, making seven wraps around the double line all the way down to the eye.
- Feed your tag end right between these double lines right below the last wrap, bringing it back to the loop made by your index finger. Run it through this loop, then remove your index finger.
- Lubricate the line, pulling the tag end tight. Slide the knot tight to the lure and cut the tag end close.
Credit: SaltStrong
Summary
It’s a good idea to learn a variety of different knots to help you in case you need to make knots on the fly. Some of these knots are easier than others, but they all serve a great purpose no matter what your fishing needs are.