
Whether you are a beginner in the world of fishing or have had some experience, there will come a time when you need to put a fishing line on a reel. To guarantee to catch the biggest one out in the waters, a poorly spooled fishing reel with twists and tangles won’t do. To help you catch the hang of it perfectly, I share all there is to know about how to put a fishing line on a reel.
If you are well aware of what you are doing, putting a new fishing line on a reel shouldn’t take 10 minutes. But before you start the process, it’s important to figure out which direction your reel turns and the type of reel you have. Although the method won’t vary greatly, it’s still important if you want to put the fishing in on your reel without any tangles.
For beginners and even some experienced anglers, spooling a fishing line on a reel can seem a bit intimidating. So in the rest of the article, I have included an easy step-by-step guide to help you learn it ASAP! Now that you know all that you need to know before putting a fishing line on your reel, you can dive into actually learning the entire process.
Baitcasting Vs. Spinning – Differences In Putting On A Fishing Line
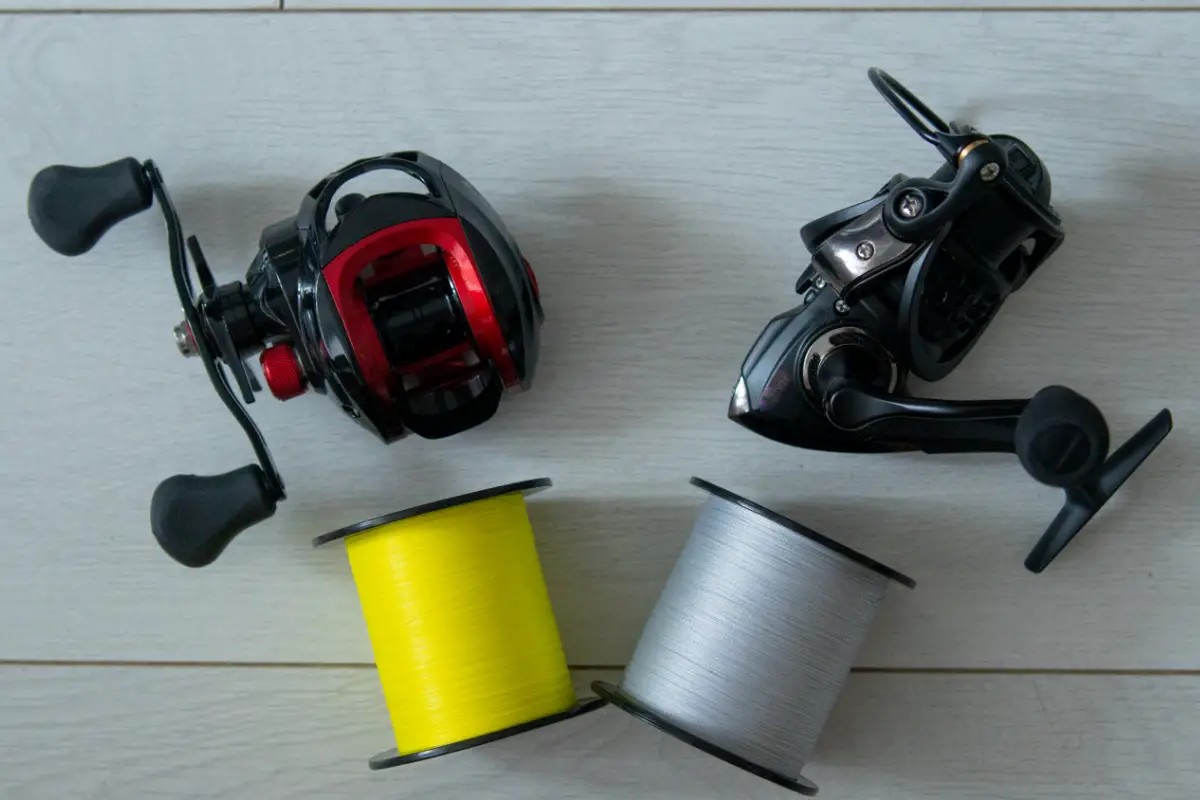
While the basic notion of putting a fishing line on a reel is quite similar for all types of reels, there are a few small changes in the method. If you are using a baitcasting reel, you just need to remember to pass the line through the line guide (a small hole at the front of the reel) before tying it around the spool.
Whereas if you are using a spinning reel, it’s important to ensure the line is on the right side of the bail. The simplest method is to open the bail before tying the line around the spool.
A Step-By-Step Guide To Put Fishing Line On A Reel
Knowing how to spool the fishing line of your reel is extremely important if you want to prevent any twists and tangles during your relaxing fishing experience. Fortunately, learning to spool your fishing line is a simple process that shouldn’t take much time. The first step to putting on a fishing line on any reel is determining which type it is.
I have already discussed the small differences between a spooling fishing line on baitcasting and a spinning reel. Other than that, the entire process is quite similar. In this article, I guide you through the step-by-step process of how you can easily put a line on a spinning reel:
List of Equipment
- A rod for the reel
- A long screwdriver
- Electrical tape
- A sharp pair of scissors
- Thick cloth
- The spinning reel
- A spool of fishing line
Step 1: Attach The Spinning Reel To The Rod.
The first step is to assemble your rod and make sure all the eyes line up just as you do when fishing. Then take the spinning reel, yank it into the reel seat, and tighten it until it’s secure.
Remember to take note of the direction the reel turns when you crank it. You need to make sure the two spools mirror the way they unwind.
Step 2: Attach The Fishing Line
Take your fishing line and carefully take it out of your spool. If you want to avoid tangles or twists, remember to remove at least 15 feet of line from your spool.
Then run one end of the line through the rod’s eyes. Start at the top of the reel and finish at the end.
Step 3: Remember To Open The Bail
This is a crucial step for attaching a fishing line to spinning reels. Many often skip this step. They finally realize that the bail would not pick the line up when they have already attached the line.
So they need to come back to this step and do it all over again. Save yourself time and effort by making sure to do this step beforehand.
Step 4: Attach The Fishing Line To The Reel Spool.
It’s rather easy to learn to knot the line to a reel. The line must be wrapped two times around the reel spool. Then you have to secure it with an overhand knot. For a close fit, trim the tag.
But if you are restringing your reel because the line was worn out, you may opt to leave some of the old lines on as backup.
Step 5: Carefully Start Winding The Line Onto The Reel.
With a spool and screwdriver in one hand, use your free hand to take a thick cloth and grip onto the spool’s other side. Now apply pressure to the spool to ensure that the line goes firmly onto the reel. This will cause the cloth to become hot, so you can take a break during the process.
Then flip the bail close and slowly wind the line onto the reel. Turn the handle to do this. The line will be placed onto the spool in consistent wraps as you crank the handle with the spinning ball.
After some cranks, stop since the most important step is to ensure the spool is pointing in the appropriate direction.
Step 6: Check The Spool Orientation
The line spool has three orientation ways, but only one of them is correct. Avoid running the fishing line directly off the spool as you would when spooling a baitcasting reel. This can cause a backlash, so it must be removed with the spool facing in your direction.
There is much debate on whether the line should come off clockwise or counterclockwise. To save you a headache, follow the simple trick: hold the rod parallel to the ground as you stand.
Then with your label in your direction or facing the floor, place the line spool on the basis directly ahead of you. Putting a bit of tension on the line, start cranking the reel.
After 10 cracks at max, watch your line next to the spool as you lower your rod to provide some slack. If loose and relaxed coils are on the floor, the orientation should be a success, and you can move on to the next step.
Step 7: Keep Cranking Until The Reel Spool Seems Full
The final step is to feel your reel with a line. Stand up and face the spool. Then hold the rod parallel and apply a bit of tension to the bar. Grasp between the first guide and reel and then slowly start cracking.
Keep cranking until your line is 3/16 and 1/6 inches from your spool’s tip. Now, you can make the cut in the line. After that, thread it through the rod guides.
How Much Fishing Line Is Enough To Put On A Reel?
When you put a fishing line on your reel, it’s essential to be precise about the length. Too much or little can cause the line to twist or tangle. When putting on a brand new fishing reel, the universal rule is to ensure there are 0.3 centimeters of space between the line on the spool and the rim.
Almost every reel out there has instructions on the amount of line it can handle. Then again, it can largely depend on the line as well. You will find that most lines are sold in 150-300 yards a spool.
Most manufacturers would recommend 200 yards. To play safe, always follow the manufacturer’s instructions and advice given.
Conclusion
Many people find putting a fishing line on a reel a rather difficult process as it’s easy to get tangles and twists without knowing the proper process. To help you avoid any hassle, I have shared a step-by-step guide on putting a fishing line on a reel in this article.
I hope it has helped you learn the process faster. Thank you for reading.