
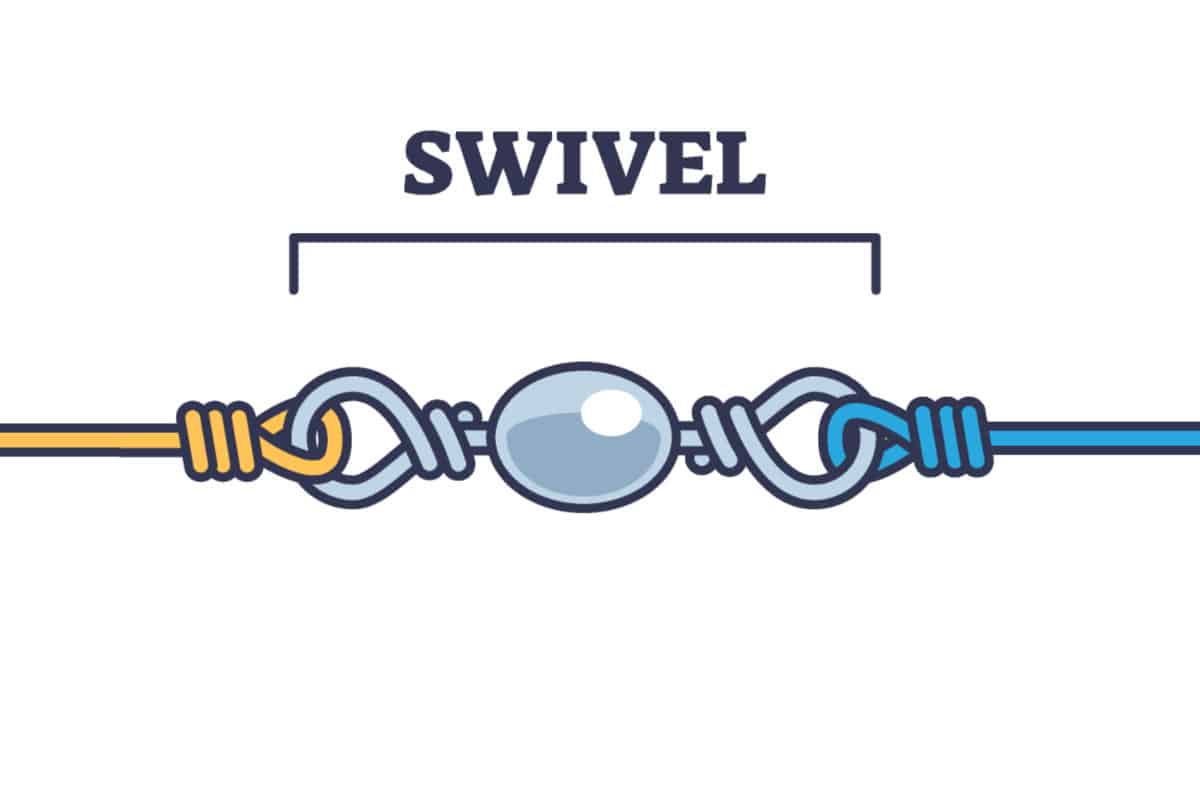
There are several ways to tie a swivel onto your fishing line. The thing to remember is that you need to use the one that you are the most comfortable using. Use it if you find a specific way that works best for you. Ensure it is tight so the fish you catch cannot pull it loose when fighting on the other end.
The five knots that can be used to tie a swivel onto your fishing line are easy to learn and use when out on the river or in the middle of the lake.
- Palomar Knot
- Offshore Swivel Knot
- Improved Clinch Knot
- Triline knot
- Berkley Braid Knot
All these knots will work effectively as long as they are done correctly. Use the one that fits the job and your fishing line![]() . The main thing to remember is that some knots work well with braided lines
. The main thing to remember is that some knots work well with braided lines![]() , and others are more meant for monofilament lines.
, and others are more meant for monofilament lines.
Fishing knots![]() can initially seem complicated until you get some practice with them. You should cut off some of your extra lines and practice making these knots at home until you have perfected them.
can initially seem complicated until you get some practice with them. You should cut off some of your extra lines and practice making these knots at home until you have perfected them.
From there, pick the one you like the best and test it out in the water. Let’s review these knots and learn how to tie the fishing line to a swivel.
How To Tie A Palomar Knot
The Palomar Knot is one of the easiest knots you can use to tie your fishing line to a swivel. It is also one of the most forgiving and can be used with braided or monofilament lines. Braided lines can be hard to get tight, but with this knot, it will be much easier, and you will not have to worry about the monster fish getting away.
- You will want to start by running your finger up the line about 6 inches. That is the point that you will want to bend over to form a loop in the line. This will give you a circle that is about 6 inches long. It can be imperfect; close, so you have room to make the knot.
- A loose basic knot will now need to be tied over the top. Ensure the hook is hanging down on the bottom of the knot.
- Do not tighten the basic knot down. You will want to keep a few inches to pass the hook through on the loop end, which you need to do now. Pass the hook through the loop.
- Pull on the tag end simultaneously with the main line. Once it is getting snug and wet, the line, pull the tagline as tight as possible. Then pull the main line until it is tight.
- Cut off the excess tagline and get the line into the water.
It may seem complicated to tie without having someone show you, so take a look at this great YouTube video that explains it in detail and shows you how well it works with both kinds of lines.
How To Tie An Offshore Swivel Knot
One of the strongest knots you can make is the Offshore Swivel![]() Knot. The great thing about this knot is that if one strand of line breaks, the other will hold until you get the fish in. That is, in theory, anyway, but the point is that it will give you extra strength.
Knot. The great thing about this knot is that if one strand of line breaks, the other will hold until you get the fish in. That is, in theory, anyway, but the point is that it will give you extra strength.
- Start by running your finger up the line about 6 inches and folding it back on itself, forming a large loop.
- Tie a regular overhand loop into the line to hold it in place.
- Place the loop through the eye of the swivel. On each side of the eye, there should be two loops that are facing the exact same way.
- Take the loop on the outer end and twist it one time to lock the swivel in place.
- Take the swivel and wind it through both loops. 4 or 5 wraps should work.
- Now, grab onto the swivel and start pulling it tight.
- Remember to get the line wet before trying to tighten the knot.
This knot is a little more involved than the others but much stronger. Let’s take a look at a demonstration of how the knot should be formed to understand the process better.
How To Tie An Improved Clinch Knot
The Clinch Knot is by far the one most anglers know and use. The problem with it is that the knot never truly tightens itself down. A hard tug on the other end by a fish, or a snag, can lead to the line loosening and letting go. This means you will lose the swivel you tie onto the fishing line and any tackles or lures on the hook side.
- That is why the Improved Cinch Knot is so essential to learn. It takes the easy, well-known knot and improves it with one step.
- Run your finger up the line about 6 inches. This is the point that you will want the hook to be at.
- Insert the end of the line through the hole of the hook up to the point where your finger is.
- You will now need to take the tag end and wrap it around the main line. 5 or 6 wraps will do the trick without making it extremely visible to the fish.
- Once that is completed, you will want to run the tagline through the eye of the loop in the line next to the eye of the hook. Leave the loop that it makes loose for now.
- Run the tag end through the loop in the line. Hold onto the tagline and pull the main line tight.
- Before cinching it up, get the line wet to help it slide into place.
- Pull both ends as tight as possible.
- Cut off the tag end.
Once again, it is understood how hard it can be to tie a knot by reading directions. Check out this video that walks you through it to make it easier. You will understand the difference if you know how to tie the basic Cinch Knot.
Check out this video that walks you through it to make it easier.
How To Tie A Triline Knot
The Triline knot is a variation of the improved cinch knot that offers even more holding power for the knot. This knot is best used with a monofilament line, which you may have noticed is challenging to get into a tight knot.
- You will first want to feed the monofilament line’s tag end through the swivel’s eye. Pull it through about six inches, more if you need more room until you figure the knot out.
- Run the tag end through the eye of the swivel going in the same direction as the first one. Keep it tight because you will want a small loop left next to the swivel end of the line.
- You will want to take the tag end and loop it around the main line 5 or 6 times, just like the Cinch Knot.
- The tag end will now need to go through the loop you left at the end of the line and the small loop directly next to the eye of the swivel. Pull snug.
- Make sure you wet the line and pull the knot as tight as possible.
- Cut off the excess tag end, and you are ready to go.
That is all that there is to this knot. The main difference is that you have an extra loop in the line next to the eye of the swivel. This helps tighten the knot and keep it in place. Take a look at this video to get a better picture of how to tie it.
Can I Use Fishing Knot Tying Tools to Secure a Fishing Line on a Swivel?
Yes, you can use fishing knot tying tools to secure a fishing line on a swivel. These tools make it easier and quicker to tie secure knots, ensuring that your line is properly attached to the swivel. They can help you achieve a strong and reliable connection, giving you peace of mind while fishing.
How To Tie A Berkley Braid Knot
As you may have already guessed, this knot was developed in one of the high-tech labs at Berkley. It is the best knot to use when you have a braided line because that type of fishing line is hard to get into a tight knot.
- Start by running your hand up the main line 6 inches and creating a loop by folding it in half.
- Run the loop that you made through the eye of the swivel. The loop should be on one side of the swivel’s eye, and the tag end should be on the other.
- Now wrap the tag end around the main and tag lines 5 to 6 times. This time, you will start from the top, making your last wrap close to the eye.
- The tip of the loop now needs to be inserted in the loop in the line near the eye of the swivel.
- Pull the knot as tight as possible after getting it wet.
- Trim the extra loop end, and you are done.
This knot seems like one of the most complicated here, but once you do it a couple of times, it will be like second nature. It is the best one to hold braided lines in place, so you will want to watch this video to learn how to complete the steps correctly.
Conclusion
When trying to figure out how to tie a fishing line on a swivel, you will need to know the knots you can use. The one you choose should be based on the knot that you can tie effectively, as long as it is designed for the type of line you use.
A monofilament line can weaken if you pinch it while tying the knot, so it is essential to take your time and tie the knot correctly from the start. Refrain from yanking on the tag end because it can weaken the knot and friction on the lines if you do not get them wet. Other than that, break out some lines and start practicing.